By the end of the lesson I will be able to:
Before studying this lesson I need to make sure that I know how to:
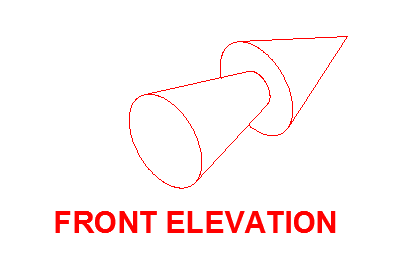
The three directions from which the object is to be drawn are shown below. They are called Front Elevation, End Elevation and Plan. This helps us distinguish between one view and the other.

In this other video the same object is shown with its surfaces colour coded. The surfaces that can be seen from the front elevation are coded in green, the ones seen from the end elevation are coded in blue and the ones seen from the plan view are coded in red.
When drawn in orthographic projection, this object is drawn as shown below.

Note that the views are neatly labelled so that we know what we are looking at. Also note that they are drawn aligned to each other. This is shown by the faint lines projected from one view to the other. The positioningof the views is also important. An easy way to know where you should place a view is by looking at its arrow in the three dimensional view of the object.
For example, the arrow of the front elevation is pointing to the top left hand corner of the paper.

This means that the front elevation should be drawn at the bottom left hand side of the paper. In the same way, since the arrow of the end elevation is in the bottom right hand corner, the end elevation is to be drawn in the bottom right hand corner. The arrow for the plan is at the top, but in the case of the plan, we do not just draw it in the top centre area of the paper. Instead we draw the plan aligned to the front elevation.
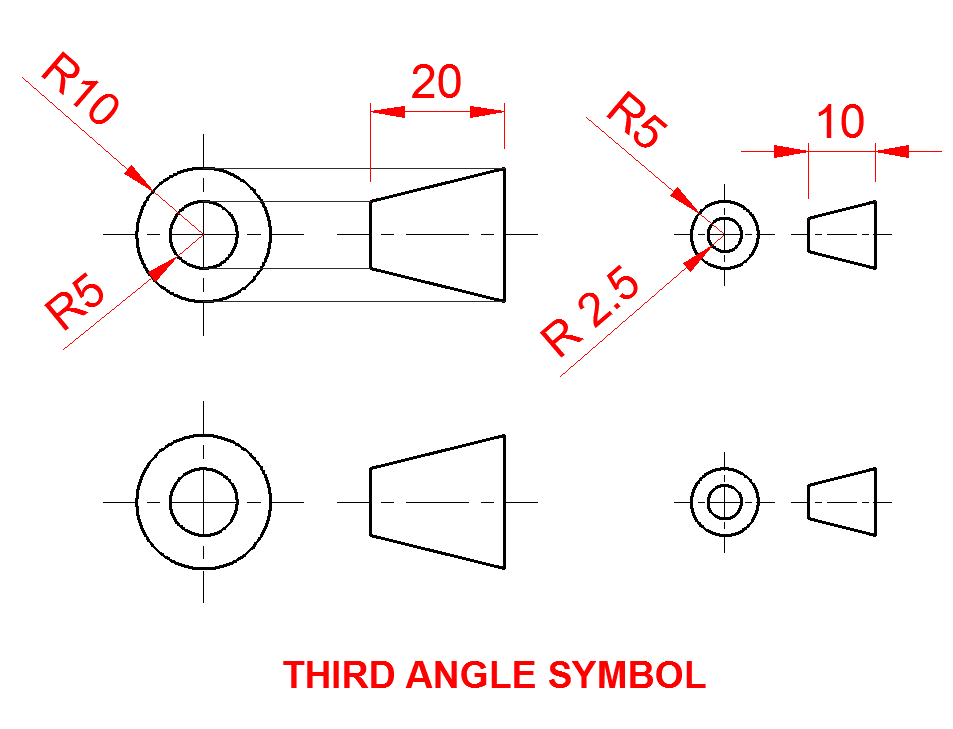
The third angle symbol and its dimensions are given below.
